DIY bike fitting tips for the #Quaranteam
You’re stuck at home right now, likely on a trainer more than you’ve ever been before. While the options to make trainer riding more realistic and engaging have never been better( I’d love to ride with you on Sundays on Zwift!) you are probably noticing every little thing that bugs you about your bike fit.
Add the lack of movement in most trainer setups and a fit being off a little, then do more volume than you may have ever done before, and you get a great recipe for various pains, inefficiencies, and an opportunity to get a serious overuse injury.
Most good bike fitters have a queue of clients ready to be seen when the restrictions end, but I’d like to share a few thoughts on things the regular person can do at home to address some of these issues.
Closing down the hips with too much angle
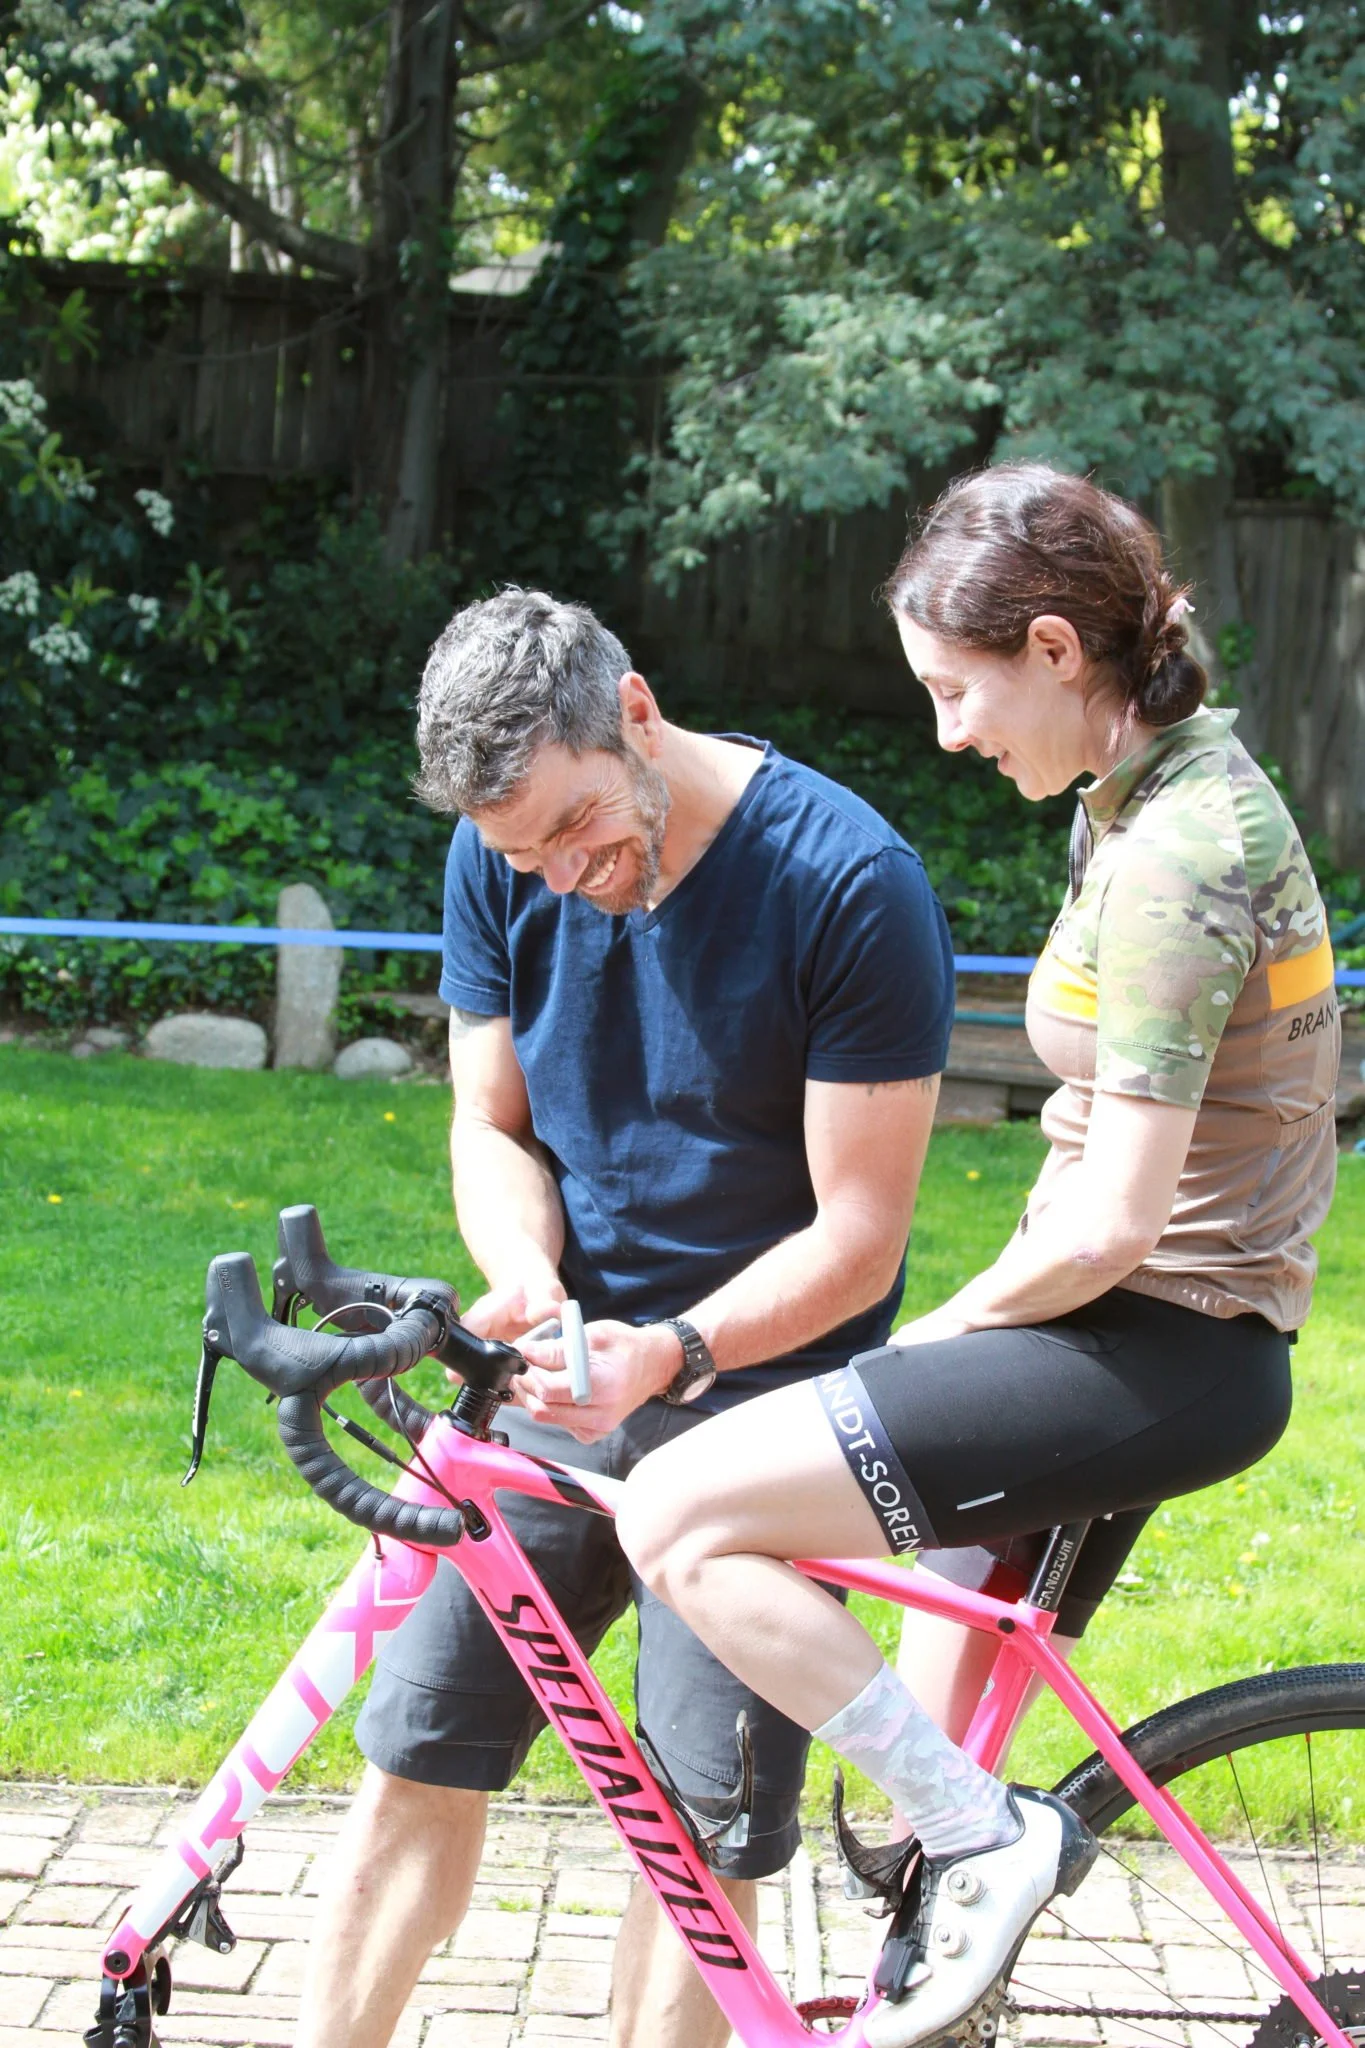
It’s very common when looking at pro-level bikes to want to mirror their setup, especially the drop from saddle to top of bars. The biggest thing to understand is professional athletes
Are very adaptable to different positions. They would still be (relatively) fast on a tricycle.
Spend a ton of time focusing on and optimizing mobility, flexibility, and diet.
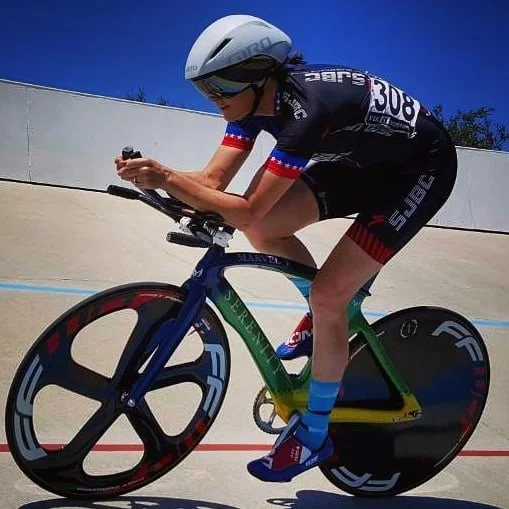
While we are always looking for free speed in aerodynamics, trading it for power and especially comfort needs to be well thought out considering your goals. While a track pursuiter or short time trialist may make decisions leaning towards optimizing their aerodynamics, many other athletes would be better suited to optimize for comfort and power. If for instance you are a criterium racer and you can’t ride in the drops comfortably for the majority of an hour-long race you are giving away a huge amount of improved handling and safety. If you are a mountain bike racer and struggle to stay balanced over the center of the bike on descents, you might want to rethink your position. Especially if you are complaining of lower back pain after grinding up a hill seated!
Supporting the feet and finding a great connection from the entire foot into the pedal
Feet, especially in a cycling shoe while pedaling, are almost their own organism with complex movement patterns happening all the time.
When thinking about shoes, the two primary objectives are
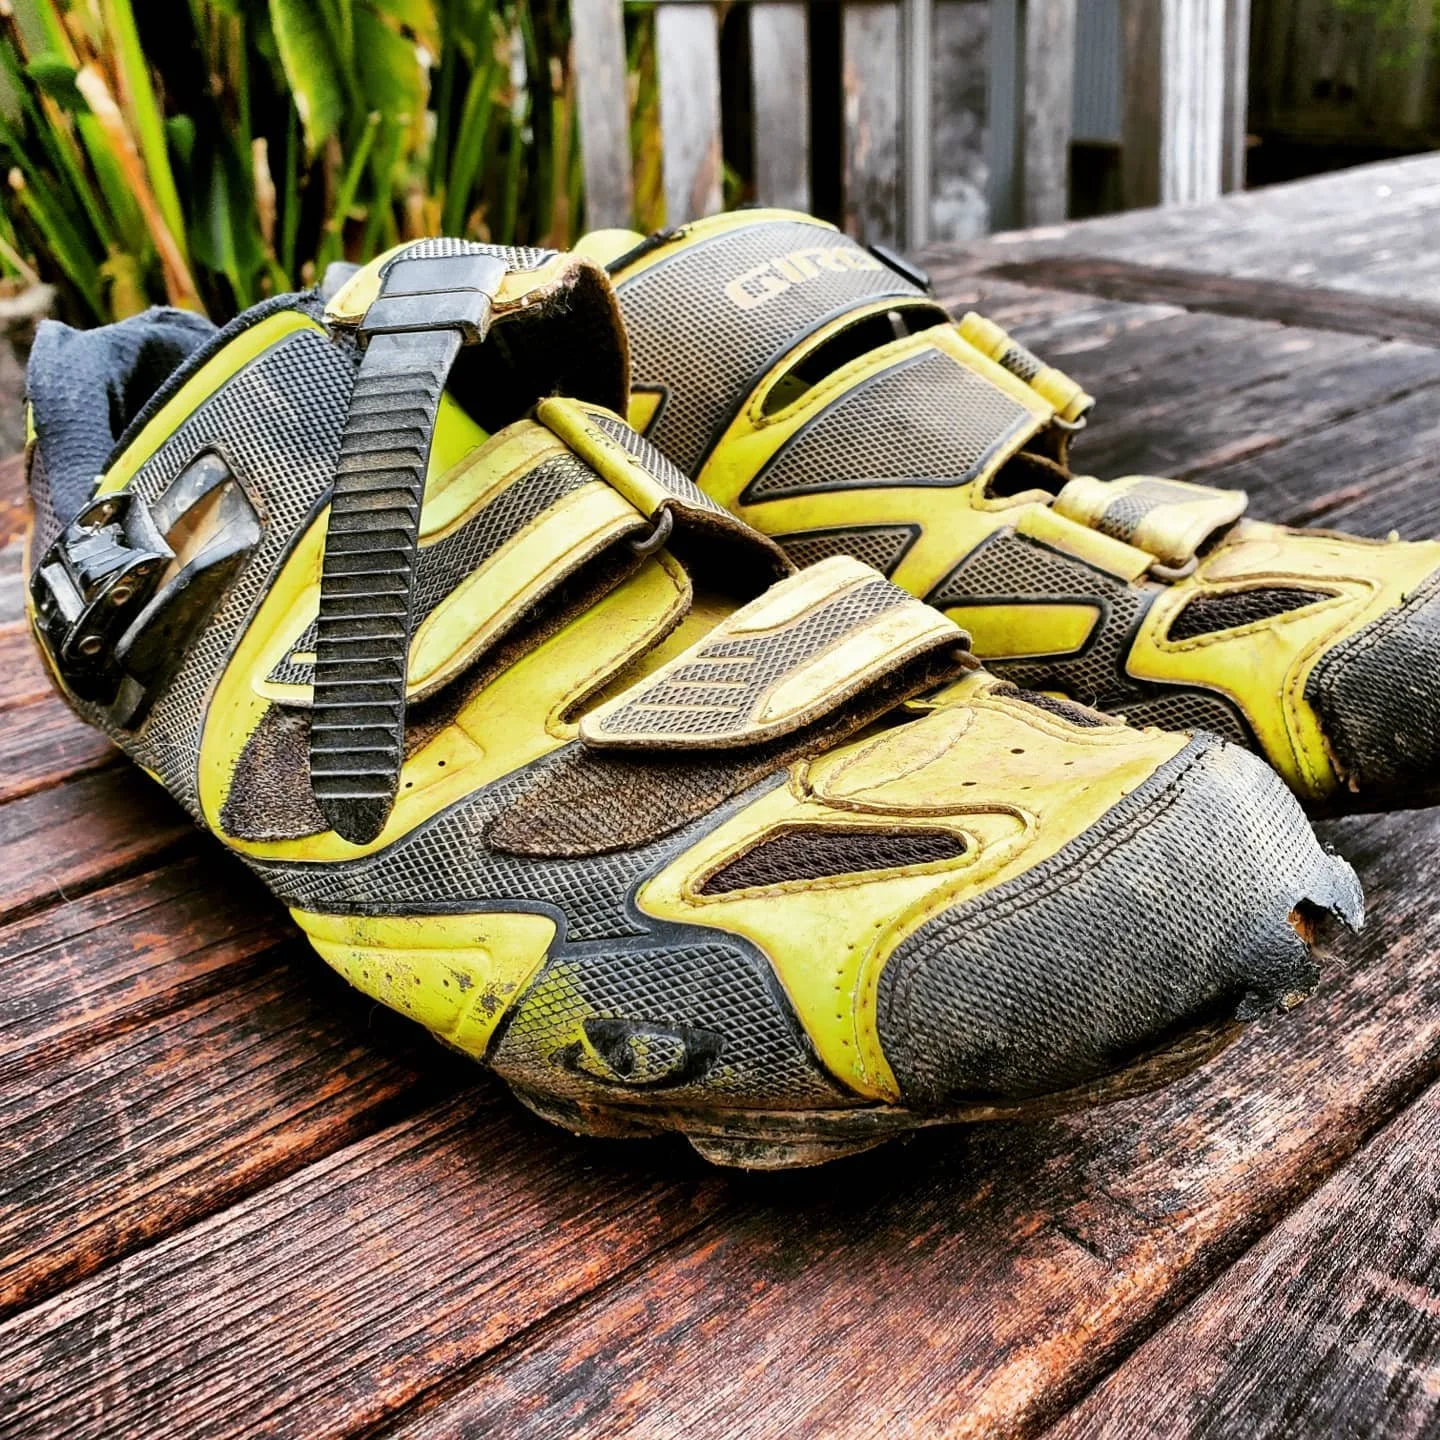
Make sure they properly fit the foot. I see TONS of shoes that are too big or too worn out. I used to see more shoes that were too small, not so much now. They should fit PERFECTLY with a thin cycling sock on. If your foot slides around either from side to side or front to back it will be pretty much impossible to support it.
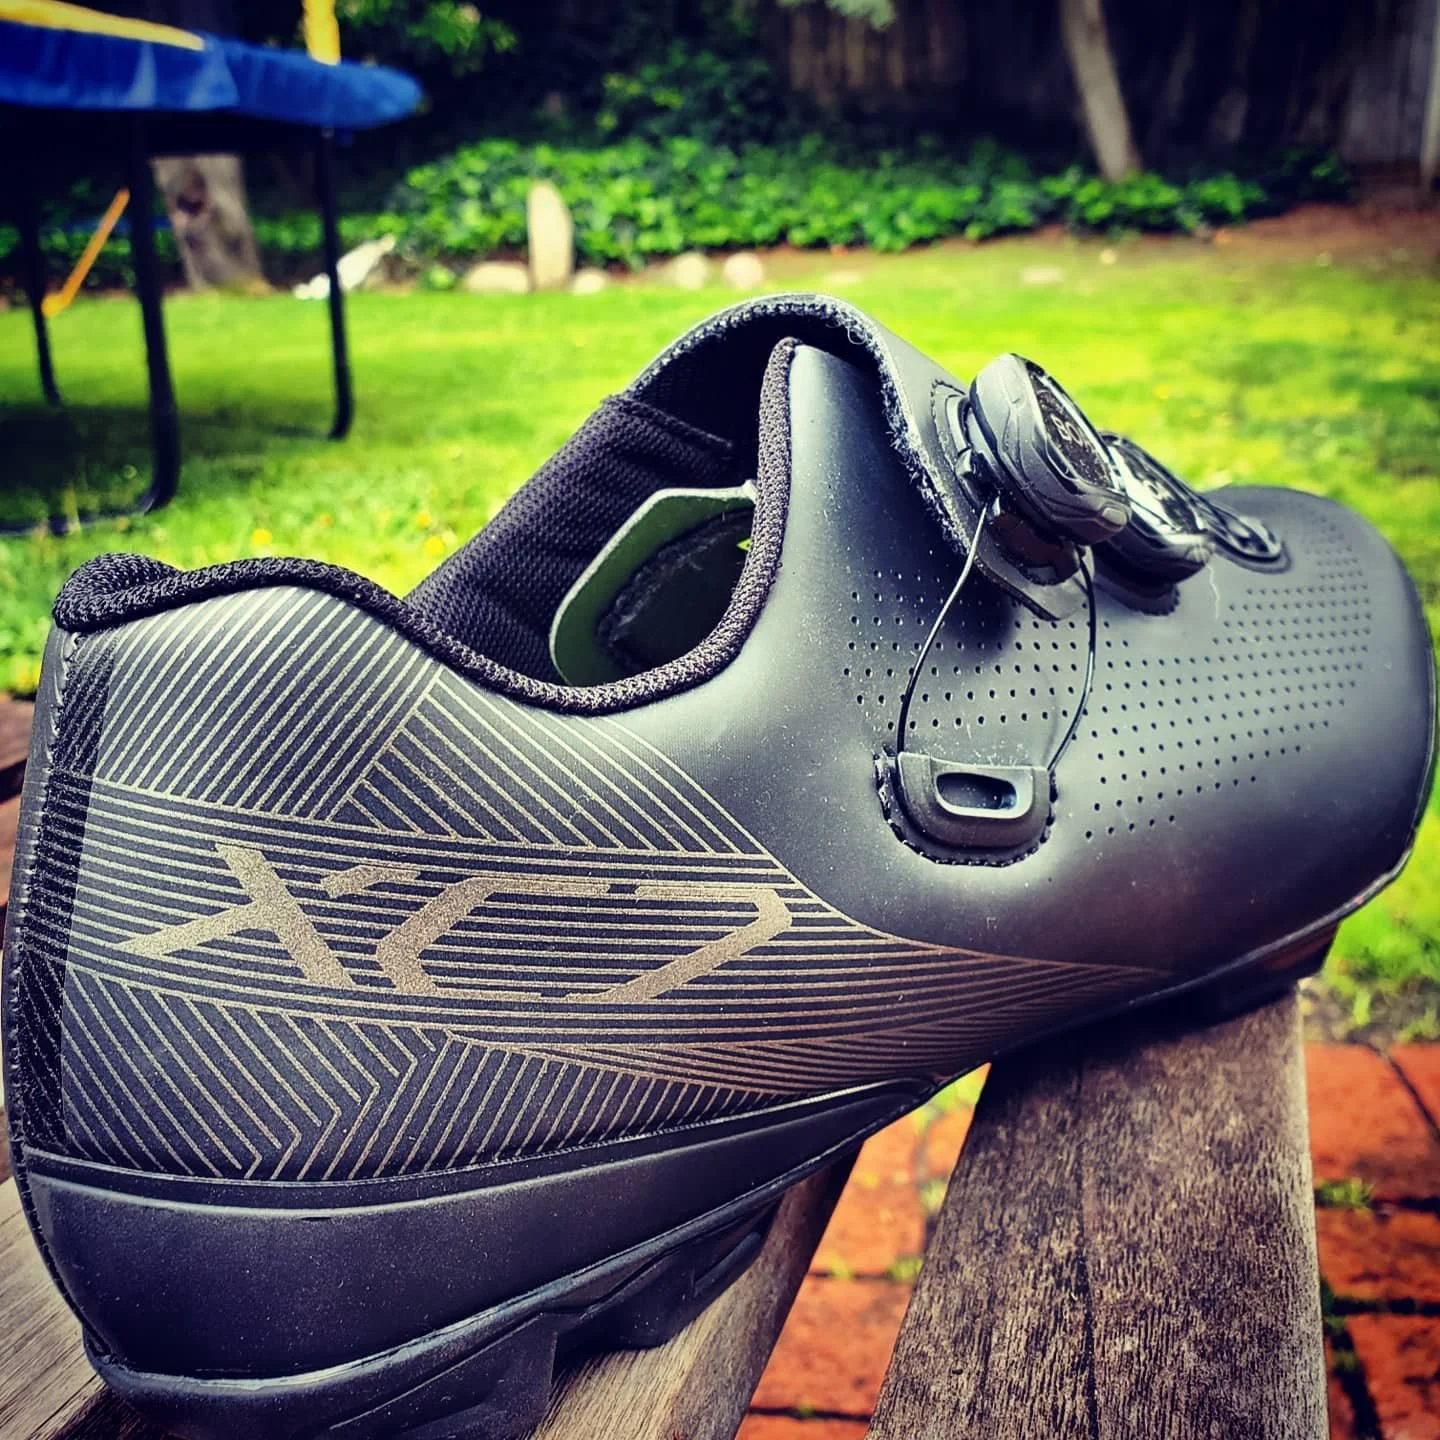
Support your feet. Stock cycling shoe insoles are pretty thin and soft. This often is a bit of trial and error but you should feel supported, comfortable, and your foot should be dynamic when pedaling. I personally like Superfeet, both the Green and Carbon models, and the G-8 2620 semi-custom insole.
Get those two things dialed in and you’ll solve a ton of problems! Happy feet = happy riders!
Finding the right
stem length and rise
Many cyclists make compromises on finding the correct stem for their bike and riding style. Two thoughts on this
Finding an upper body position that isn’t too “ compressed” resulting in the rider hunched over the bars with their breathing compromised, OR too extended with their scapulae rotated forward resulting in the upper back and neck in pain is key.
Understanding what you plan to use the bike for is just as important. If you plan to ride in the drops in an endurance track or criterium event, you’ll likely be wanting to “stretch out” more than setting up a cyclocross bike especially in Norcal with the more “ mountain bikey” or technical courses we usually face.
Tips for at home without a fitter looking at you and an adjustable stem on the bike-
Use a towel or perhaps some foam to create a little more effective height on the hoods, this can simulate a centimeter of rise easily
Come up to sitting then find your natural position again on the bars. Note where your hands naturally sit. Now kind of toy with that position, moving out a bit or shortening up your reach towards the tops.
Watch where you like to ride. How is that feeling on descents?
If you struggle with the brakes and smaller hands, would adjusting the throw of the brakes help? Learn how to do this for your specific brake levers , it’s usually a small Allen key adjustment.
Spend some time trying out different dimensions until you get it right for you! You’ll go faster and trust your bike more!
Finding the right saddle for you is much more than measuring your sit bones
There’s a reason many bike fitters and stores have an assortment of saddles and a quick change seat post on their fit bike. Saddle choice is a very individual thing!
The width of your ischial tuberosities, or “ sit bones” can be a good place to start, but the higher the angle your pelvis tilts due to event-specific needs, the more you actually sit on the Pubic Ramus, which is forward of the sit bones. The good news after all that anatomy talk is saddles in general are WAY better than they used to be!
Three points that will get you in the ballpark selecting the right one for you
Measure the sit bones, if only to get an idea of pelvic width
Start with the saddle level. This may need small adjustments and is saddle specific, but being able to steer a bike with your hips is key for most disciplines of riding and racing. If the nose “ falls away” too much its hard to keep contact between your thigh or inside of the hip and the saddle. It also often results in “ sliding forward”
Think about what you are using the saddle for. You may need a specific “ noseless” saddle or one that fits in one position perfectly, or you may need to move all over the bike shifting your weight. Find one that fits what you are doing.
A great saddle is one that you don’t think about! Let’s get to that happy place!
Setting your cleats up in a neutral position works well
for 95 percent of cyclists
Returning to the first point about bike shoes that fit, it’s really hard to work around shoes that are a size too big, and you’ll never be happy wearing a shoe that’s too short or too narrow.
Many riders just kind of guess and put the cleats on with a “ well, its close, right?”kind of statement.
Get acquainted with your feet, really it’s better without socks on. Look for the metatarsal or ” knuckle” next to the ball of the foot, and find the side of that. Now find the corresponding “ knuckle “ or bump on the base of the little toe. Feel where the bump is on the side of the foot?
Now that we know what we are looking for, put your shoe on, and properly tighten it. A helper here is useful! Find those same bumps through the shoe and mark the side of the shoe or sole a bit( see where a helper is useful?). Now take the shoe off and you will have an idea of where your forefoot sits in the shoe.
Install your cleats loosely and get them in between those dots, so if you had a transparent ruler it would bisect the cleat. Again, visualize your foot in the pedal and face the cleat forward or how your foot likes to rest, does it splay out a bit? Most bike fitters will take these patterns into account and do all types of assessment both on and off the bike, for now, at home, start with it perfectly forward. Tighten and click in!
You now have a great starting place for a cleat position! Ride the trainer and pay close attention to how the position feels. Minor changes in cleat alignment and fore-aft position make a big difference, so take some time, get it right. As with most contact points on a bike, you’re pretty close if you aren’t thinking about it. If it’s bugging you, that’s great feedback that it’s not perfect.
Enjoy the ride!

